Wall Sticker installation guide

Dear Buyer, thank you for your purchase!
If you have any concerns with your purchase once it arrives please contact us immediately, your
satisfaction is our priority

Acceptable surfaces for application:
Glass, metals (must be painted with a smooth, glossy enamel.), vehicles (must be painted with a smooth, glossy enamel.), vinyl (such as banners, canopies, flags, etc.), plastic, fiberglass (must be painted with a smooth, glossy enamel.), wood (must be painted with a smooth, glossy enamel.), other painted Surfaces (paint must be smooth and glossy, vinyl will not stick to oxidized, faded, or peeling paint).

Surfaces not recommended:
Cement, raw timber, oxidized or faded paint, peeling paint, rubber, raw metals and oily, greasy or dirty surfaces.

NB! If you have received your sticker in a mailing tube or folded in an envelope, remove and lay flat on a table with a heavy book or two on top. Do this at least an hour before application. This is to avoid the sticker curling back on itself during application

Step 1

step 1 wall sticker installation

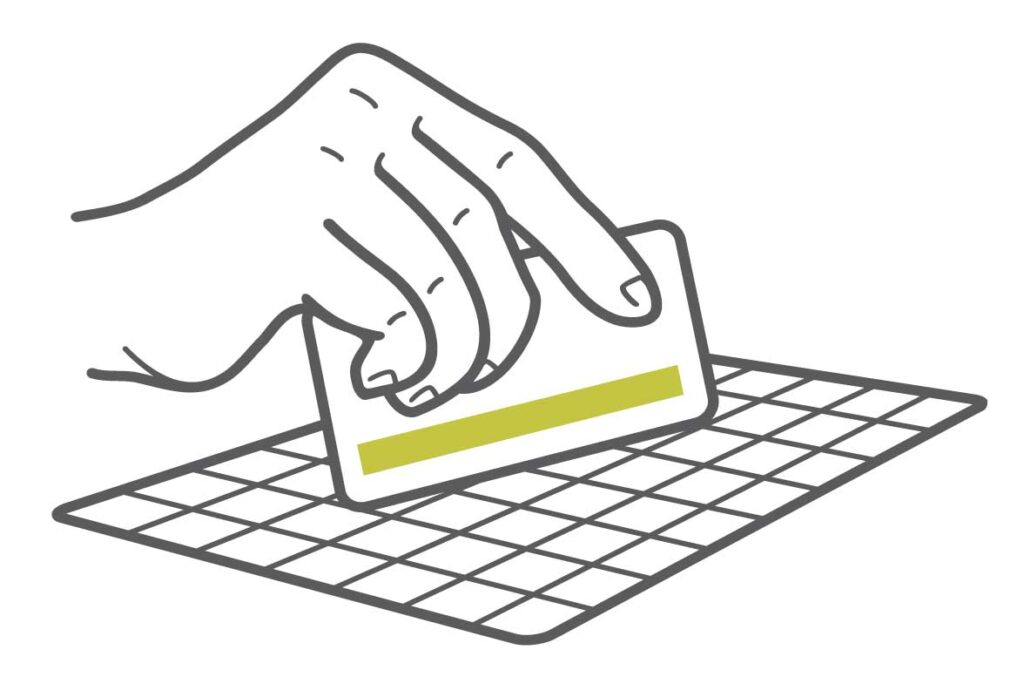
To apply the sticker, you need a smooth, DRY and CLEAN surface. Use a damp cloth to clean your wall beforehand. Let the wall dry completely before proceeding. This step is important because walls have dust particles and residue that could affect adhesion of the wall decal.

You will need to allow 2-3 weeks for a freshly painted wall to cure before installing your decal.

Step 2

step 2 wall sticker installation instruction

Plan the position of your decal carefully beforehand.

You may use some masking tape to mark the exact position. If needed, cut the decal into pieces for easier installation (recommended for big sets)

You will need to allow 2-3 weeks for a freshly painted wall to cure before installing your decal.

Step 3

step 3 wall sticker installation

You can use a ruler and spirit level if necessary to make sure your sticker is straight and level

Step 4

step 4 wall sticker installation instruction

Make marks with a pencil from all sides of the sticker. Later we will need them to place it back to the same place.

Step 5

step 5 wall sticker installation instruction

Next turn your decal face-down on a hard surface (such as a table) and using your squeegee tool apply very firm steady pressure across the paper backing area of the decal. A plastic straight edged ice scraper or thick plastic card works great if you do not have a squeegee tool.

Go over it several times both horizontally and vertically. You can’t do this too much or too lightly – this is to make sure the vinyl sticks to the application tape.

Step 6

step 6 wall sticker installation instruction

To peel the sticker backing sheet: while the decal is still face down, start to gently peel off the paper backing away from the transfer tape at an angle making sure all the vinyl lettering stays on the transfer tape.

Step 7

step 7 wall sticker installation instruction

Place the sticker onto the surface into position.

Step 8

step 8 wall sticker installation instruction

“Using a squeegee (or any plastic card), carefully squeegee the sticker.

Note: If your walls have a texture on them, your decal may adhere better if you wrap your squeegee in a soft cloth. The cloth will help press the decal into the nooks and crannies of the wall’s texture.”

Step 9

step 9 wall sticker installation instruction

Remove the application tape by pulling it back upon itself, at a 180° angle. If the application tape begins to lift the vinyl off the wall, carefully press the vinyl and application tape back to the wall at that specific point and begin again to peel the application tape away while holding the edge of the vinyl to the wall with your finger.


Some smaller or detailed fonts will take a littlemore work and patience to get it all off the application tape.


Note: If the transfer paper won’t release the decal onto your wall, take a damp sponge onto the back of the paper tomoisten it and help release the adhesive.

Vinyl sticker removal:
To remove a sticker more easily, easier use a hair dryer, heat from the hair dryer will loosen the adhesive making it easier to peel off the sticker.